Ductwork 101: Design, Sealing, Sizing, and When Replacement Beats Repair
Published on July 18, 2026
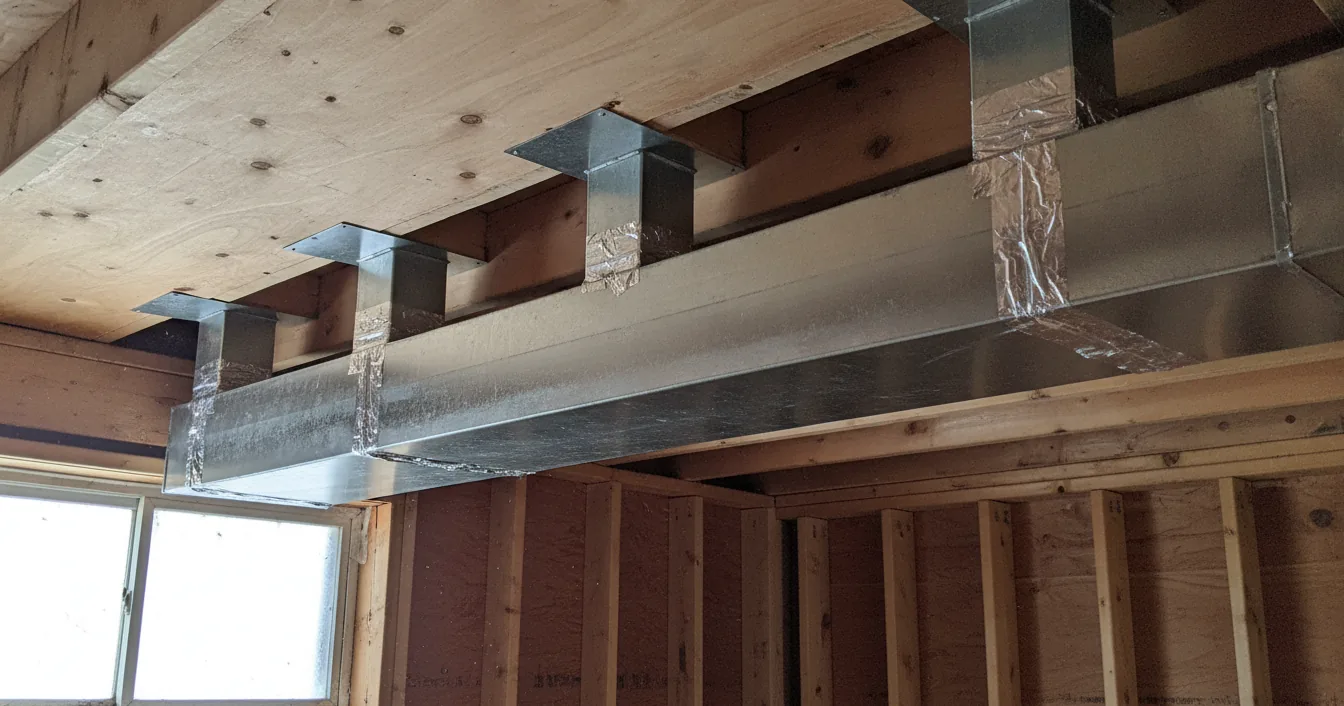
Every buying guide on this site is about the machine. The furnace, the condenser, the heat pump, the thermostat. None of that matters if the air cannot get where it needs to go. Ductwork is the part of the system nobody photographs, nobody shops for, and nobody inspects until a room has been uncomfortable for years. It is also the reason a brand new, correctly sized, top-tier system can leave your back bedroom eight degrees off the thermostat.
If you have been nudging registers open and closed for a couple of seasons and never quite fixed the hot room, the ducts are the most likely culprit. And if you are about to spend five figures on new equipment, what carries the air deserves as much attention as what conditions it. Here is what actually matters.
Your Ducts Have a Harder Job Than You Think
A duct system is not a passive set of tubes. It is a pressurized network that has to deliver a specific volume of air to every room, and then pull that same volume back. Cooling equipment generally needs somewhere around 350 to 400 cubic feet per minute of airflow per ton of capacity. Fall meaningfully short and the equipment cannot do its job no matter how efficient the label says it is.
The number a technician should be measuring is total external static pressure, which is the resistance the blower fights against. Most residential systems are designed around roughly 0.5 inches of water column. Plenty of real houses measure double that, which is the airflow equivalent of running a marathon while breathing through a straw. High static pressure shows up as weak airflow at the registers, a noisy system, short cycling, a blower that fails early, and in cooling season a frozen evaporator coil. That last symptom is one of the reasons an air conditioner can run all day without cooling the house.
Manual D: The Design Step Most Homes Never Got
The industry has a formal process for this. Manual J calculates the home’s heating and cooling load, Manual S selects equipment to match that load, and Manual D sizes and lays out the duct system to deliver it. Manual T covers register and grille selection. Most homeowners have heard of Manual J because it comes up in every sizing conversation. Manual D is its neglected sibling.
A real Manual D design accounts for the length of every run, every elbow and transition, the friction of the material, and the airflow each room needs based on its individual load. What happened in a lot of housing stock instead was rule of thumb: a trunk line down the middle, branches poked off wherever they fit around the framing, and register sizes picked by habit. That approach can work by accident. More often it produces a system where the rooms closest to the air handler are fine and everything at the end of the line starves.
Why Undersized and Oversized Ducts Both Fail
Homeowners intuitively understand undersized ducts. Too little pipe, too little air, and you get the starved bedroom, the whistling register, the strained blower, and the high static pressure described above.
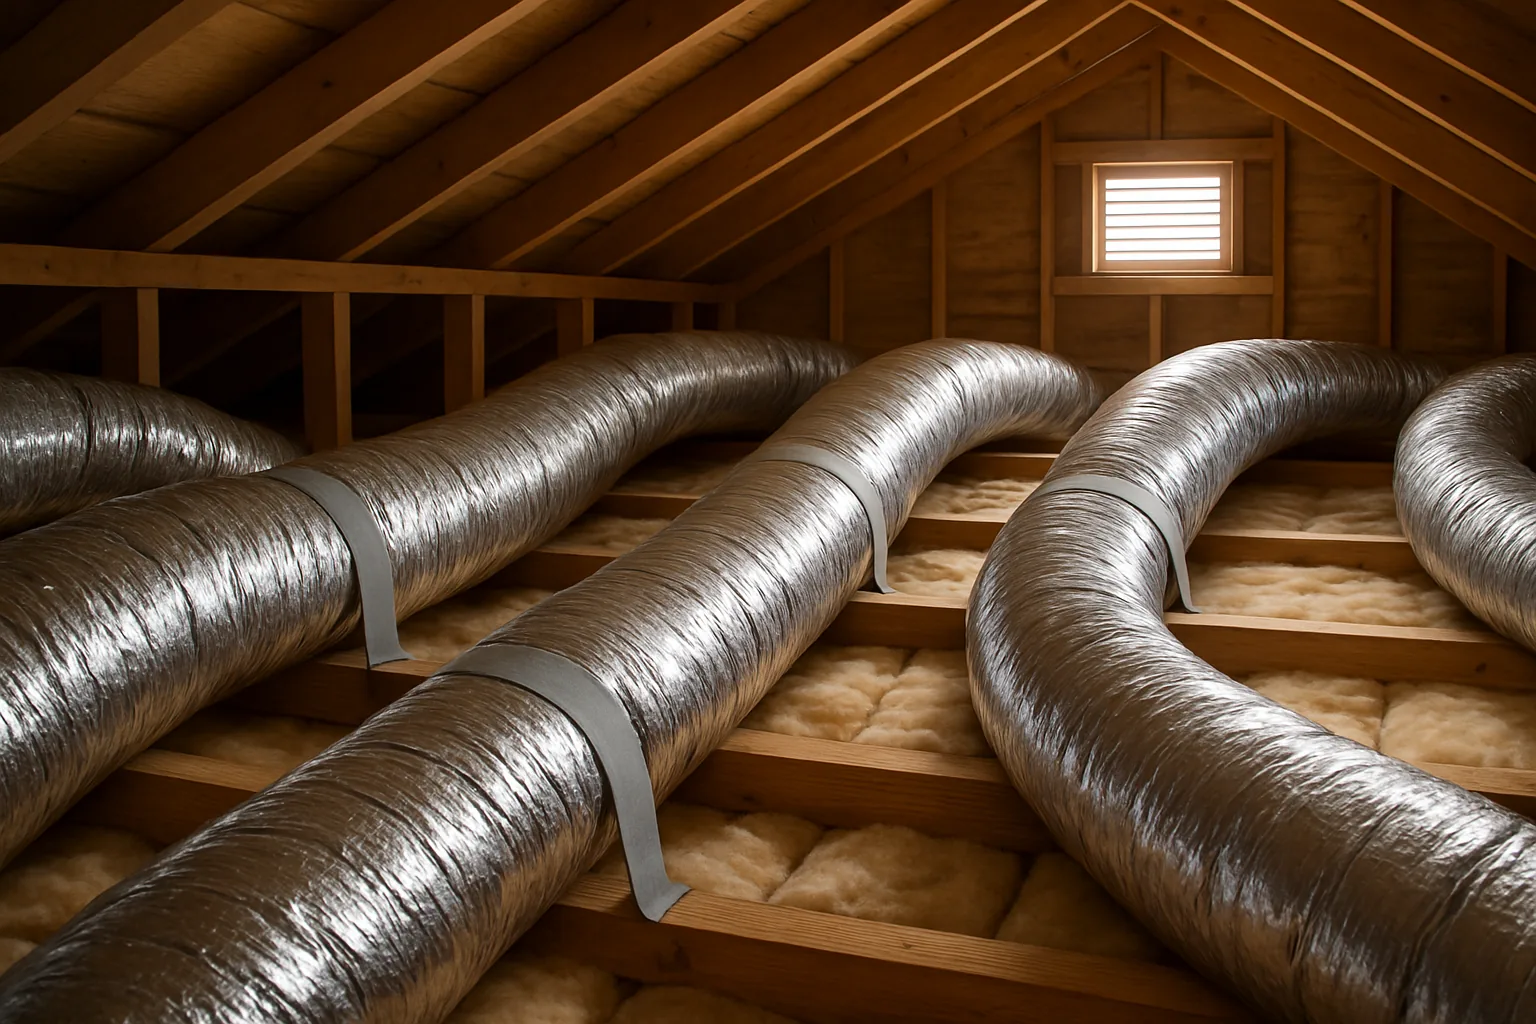
Oversized ducts are the counterintuitive half, and they are a genuine problem. Air moving through an oversized duct slows down, and slow air loses its throw. It dribbles out of the register instead of being launched across the room, so it never mixes with the room air and never reaches the far corner. In an unconditioned attic or crawlspace, slower air also spends more time in the duct, which means more time gaining or losing heat before it arrives. Bigger is not safer. Correct is correct.
The Return-Air Shortage Behind Most Hot Rooms
Here is the failure that hides in plain sight. Supply air is only half a circuit. Every cubic foot pushed into a room has to find its way back to the air handler, and a huge number of homes were built with one central return in a hallway and nothing else.
Close a bedroom door in that house and you have sealed the return path. The room pressurizes, incoming supply air slows to a trickle, and the conditioned air you paid for gets pushed out through whatever leaks the room has. Meanwhile the rest of the house goes slightly negative and pulls unconditioned air in from the attic, crawlspace, or garage. Building science guidance generally wants the pressure difference between a closed room and the hallway held to a few pascals at most.
The fixes are unglamorous and effective: undercut the doors, add a transfer grille through the wall above the door, or run a short jumper duct between the room and the hallway. It is also why HVAC pros so often tell people that opening interior doors and improving circulation evens out temperatures faster than any thermostat adjustment. Fighting a cold room by closing everything off is usually the exact opposite of the fix.
Leaky Ducts and the 20 to 30 Percent Problem
The Department of Energy’s long-standing estimate is that a typical house loses 20 to 30 percent of the air moving through its duct system to leaks, holes, and poor connections. In older systems, or in ducts running through a vented attic, the real number can be worse. That is not a rounding error. It is a fifth to a third of everything your equipment produces, dumped into a space you are not trying to condition.
A contractor measures this with a duct leakage test, sometimes called a duct blaster, which pressurizes the system and reports leakage as CFM25 (cubic feet per minute at 25 pascals). Modern energy codes for new construction cap total leakage in the neighborhood of 4 CFM25 per 100 square feet of conditioned floor area. Older homes routinely test at several times that. Ask for the number before and after any sealing work, because “we sealed it up” is not a measurement.
Leaks cut the other way too. Return-side leaks pull air from wherever the duct passes through, which means attic dust, crawlspace moisture, and garage fumes get distributed to every room. Ducts that harbor dust and debris are a documented way an HVAC system spreads allergens instead of filtering them, which connects this directly to the whole-house indoor air quality picture.
Sealing: Mastic, Foil Tape, and Aeroseal
Three options, in rough order of how they get used.
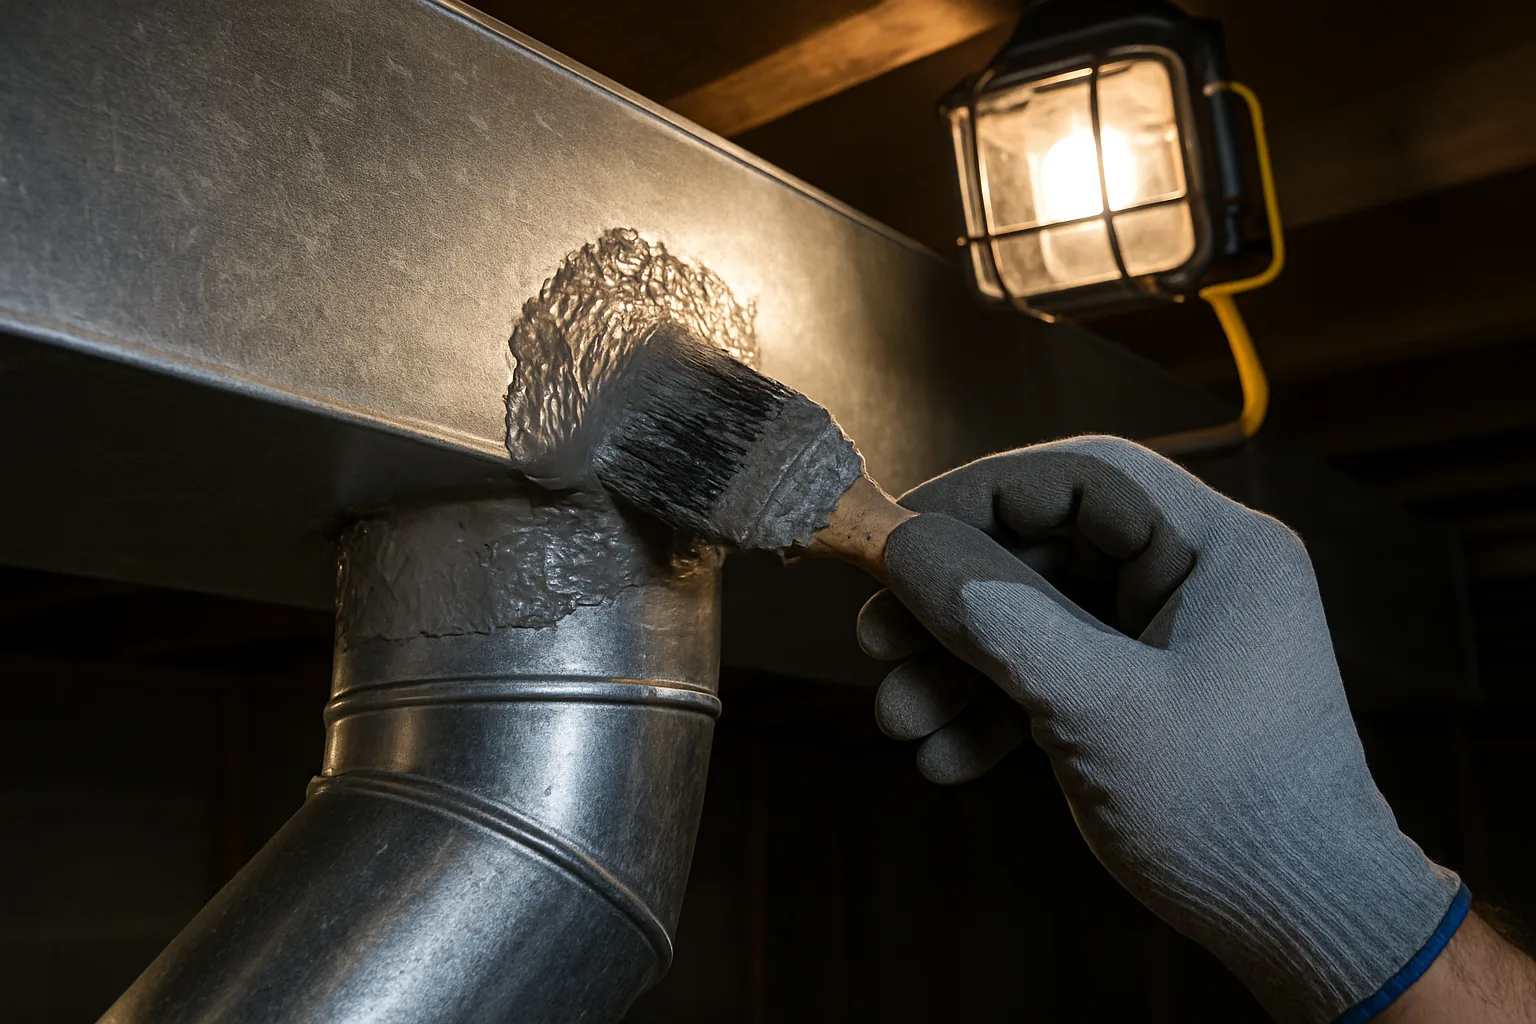
Duct mastic is the gold standard for accessible joints. It is a thick, gooey sealant brushed over seams and connections, and it stays flexible and bonded for decades. UL 181 rated foil tape is acceptable for many seams and is far better than nothing. Ordinary cloth-backed duct tape, despite the name, is the one thing you should not use. It reliably dries out, loses adhesion, and falls off. The product’s name is a historical accident, not an endorsement.
Aeroseal solves the problem that most leaks are inside walls, ceilings, and chases where nobody can reach them. The technician blocks the registers, pressurizes the duct system, and injects an aerosolized adhesive that finds the leaks from the inside and builds up around the edges until they close. It is measured going in and coming out, so you get a real before-and-after leakage number. Expect it to cost meaningfully more than manual sealing, and expect it to be worth it when the ducts are buried.
While the ducts are open, look at insulation as well. Ducts in an unconditioned attic want roughly R-8. Uninsulated metal in a 130 degree attic will surrender the temperature difference no matter how tight it is.
Balancing, Zoning, and the Register You Keep Adjusting
If you are still managing comfort by walking around opening and shutting registers, stop. Closing a register does not redirect that air helpfully. It raises system static pressure and pushes more air out of the leaks upstream. Closing several makes the whole system worse.
Real balancing happens at the branch takeoffs with dampers installed in the duct itself, adjusted with the system running and airflow actually measured. A good contractor sets them once and marks them. Zoning goes further, using motorized dampers and multiple thermostats to serve different areas independently, which suits multi-story homes and additions well. It has to be designed carefully, because a zoning system that closes too much of the duct at once needs somewhere for the extra air to go. Zoning is also worth pricing against a ductless mini-split for a single problem room, a tradeoff covered in our guide to choosing the right system type for your home. And if the whole house drifts warm in summer, start with the thermostat setting itself before assuming the ducts are the villain.
Asbestos: Stop Before You Touch Pre-1980 Ducts
If your home was built before 1980, treat old duct materials as suspect until proven otherwise. Asbestos showed up in duct wrap and insulation, in the paper tape at joints on old gravity furnaces, and in some duct-adjacent products. Intact and undisturbed, it is generally not an active hazard. Cutting, scraping, or demolishing it is exactly what releases fibers.
Do not sand it, do not tear it out, and do not let a contractor do so casually. Have suspect material tested and, if positive, abated by a licensed professional. This is a hard stop, not a judgment call.
When Replacement Beats Repair
Sealing is cheap relative to replacement and usually the right first move. Replace instead when you see:
- Crushed, kinked, or disconnected flex duct, especially long runs sagging between joists. Sealing a crushed duct does nothing for the restriction.
- Mold, or moisture staining and rodent contamination through the interior. You cannot clean your way out of a compromised porous liner.
- A trunk line that is genuinely undersized for the equipment. No amount of sealing adds capacity that was never there.
- Asbestos-containing materials that have to come out anyway.
- A system that is 25 or more years old, largely original, and already failing in several places.
- A major equipment change. This is the big one. Modern variable-speed and high-efficiency equipment has different airflow requirements than the 1990s furnace it replaces, and bolting a new system onto an inadequate duct system is the single most common way homeowners fail to get the efficiency they paid for.
Manual duct sealing typically runs several hundred to a couple thousand dollars, aerosol sealing meaningfully more, and full or partial duct replacement commonly lands in the low-to-mid four figures and up depending on access and square footage. Access drives the price more than materials do: an open basement is straightforward, and finished walls with blown-in insulation are not. Get itemized quotes from at least three contractors, since duct pricing varies more by region and access than almost anything else in this trade. It is also worth asking your contractor and utility about incentives, because duct insulation and air sealing materials can fall under the federal 25C envelope category and many utilities run their own duct-sealing rebates. Our guide to HVAC tax credits and rebates covers what qualifies, and the full cost breakdown by system type shows where ductwork lands inside a replacement quote.
The Bottom Line
Ductwork is the highest-leverage, least-examined part of a home comfort system. Before you buy bigger equipment to overcome a hot room, have someone measure static pressure, test duct leakage, and check whether that room has a return path at all. Insist on a Manual D layout for any new or substantially modified duct system, seal what exists with mastic or aerosol rather than tape, balance at the dampers instead of the registers, and treat pre-1980 materials as asbestos until tested. A well-designed duct system makes mid-tier equipment feel excellent. A bad one makes premium equipment feel broken, and the label on the cabinet will never tell you which one you have.
Further reading (sources)
- U.S. Department of Energy on how much conditioned air a typical duct system loses
- ACCA for the Manual D residential duct design standard
- U.S. EPA with what to do about asbestos materials in an older home
- Family Handyman on how duct buildup spreads allergens through the house
- Homes & Gardens covering why better airflow beats closing off cold rooms