Fix the House Before You Fix the HVAC: The Envelope Guide to Insulation, Air Sealing, Shade, and Windows
Published on September 12, 2026
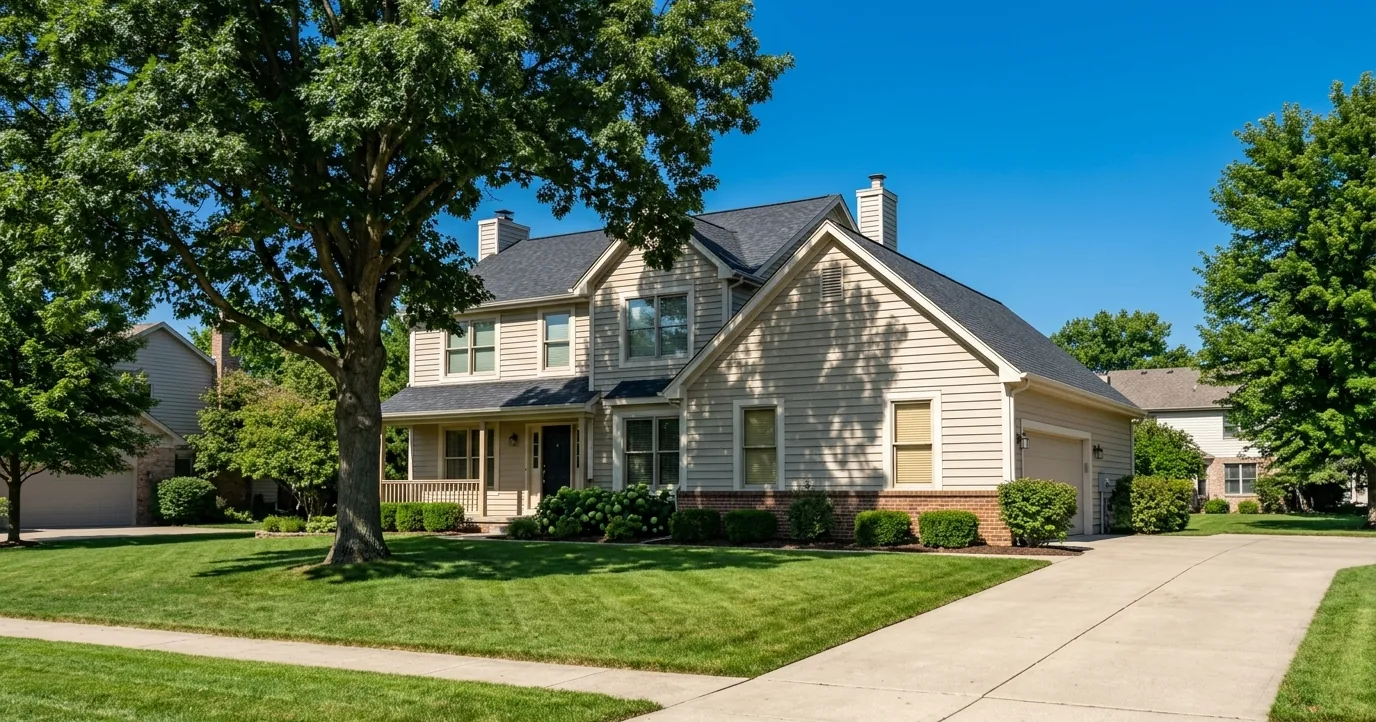
Every August brings the same call. The house will not hold 75 degrees, the air conditioner runs from noon until well after dark, and the homeowner has already diagnosed it: the unit must be too small. Occasionally that is true. Far more often the equipment is doing exactly what it was built to do, and the building wrapped around it is the actual problem. Buying a bigger condenser in that situation means paying considerably more to lose the same fight.
This is the least exciting advice in the trade and the advice that pays best. Before committing $8,000 to $15,000 to new equipment, spend a fraction of that shrinking the load the equipment has to carry. Air sealing, insulation, duct repair, and shade are permanent. They work in January as well as July, they make a house quieter and less drafty, and they are still working when the compressor finally dies in 2041. Here is the whole envelope, in roughly the order it pays back.
Why a Bigger Unit Makes It Worse
Cooling equipment is supposed to be sized from a Manual J load calculation, a room-by-room accounting of every source of heat gain: wall and ceiling assemblies, window area and orientation, infiltration, occupants, appliances. When a contractor skips that and simply installs a larger tonnage than the last unit, two things happen.
The first is short cycling. An oversized system drives the air temperature down to setpoint quickly, satisfies the thermostat, and shuts off before it has run long enough to pull much water out of the air. You end up at 74 degrees and 60 percent relative humidity, which feels clammy and worse than 76 degrees at 45 percent. The second is wear. Compressors and contactors are hardest hit at startup, so a system that starts and stops constantly ages faster than one that runs long, steady cycles.
Envelope work changes the arithmetic in your favor twice. It makes the house comfortable at the equipment you already own, and if you do end up replacing, the Manual J number comes back smaller, so the replacement is smaller and cheaper. Doing it in the other order locks you into oversized equipment for the next 15 years. If a hot upstairs is what started all this, our walkthrough of uneven cooling in a two-story house covers the balancing and return-air fixes that belong alongside the work below.
Start at the Top: Sealing the Attic Plane
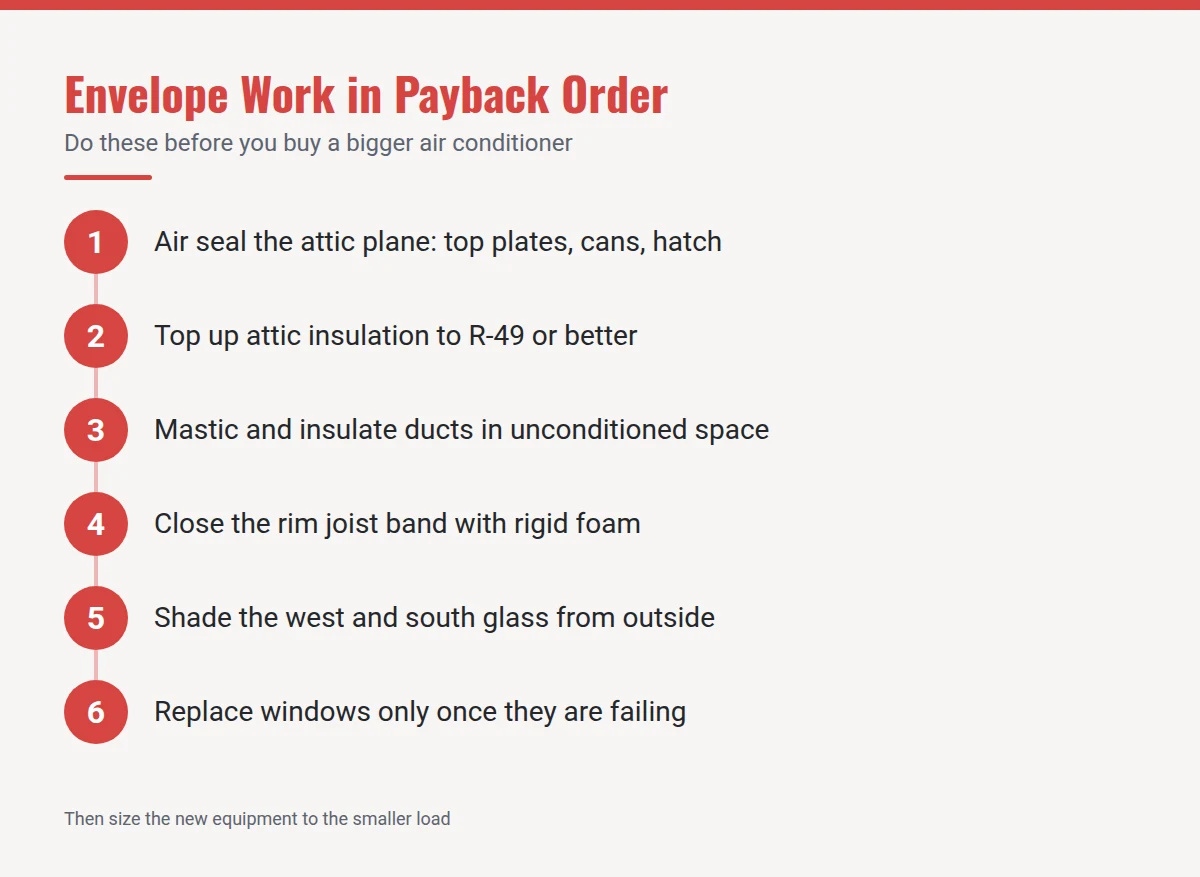
Air sealing is first because it is cheapest and because the leaks that matter most are almost all in one place. A house behaves like a chimney in summer as well as winter. Warm air escapes through gaps high in the structure, and that outflow pulls replacement air in low, dragging heat and humidity through the living space all day. Plug the top and the whole current slows down.
In a typical attic the targets are:
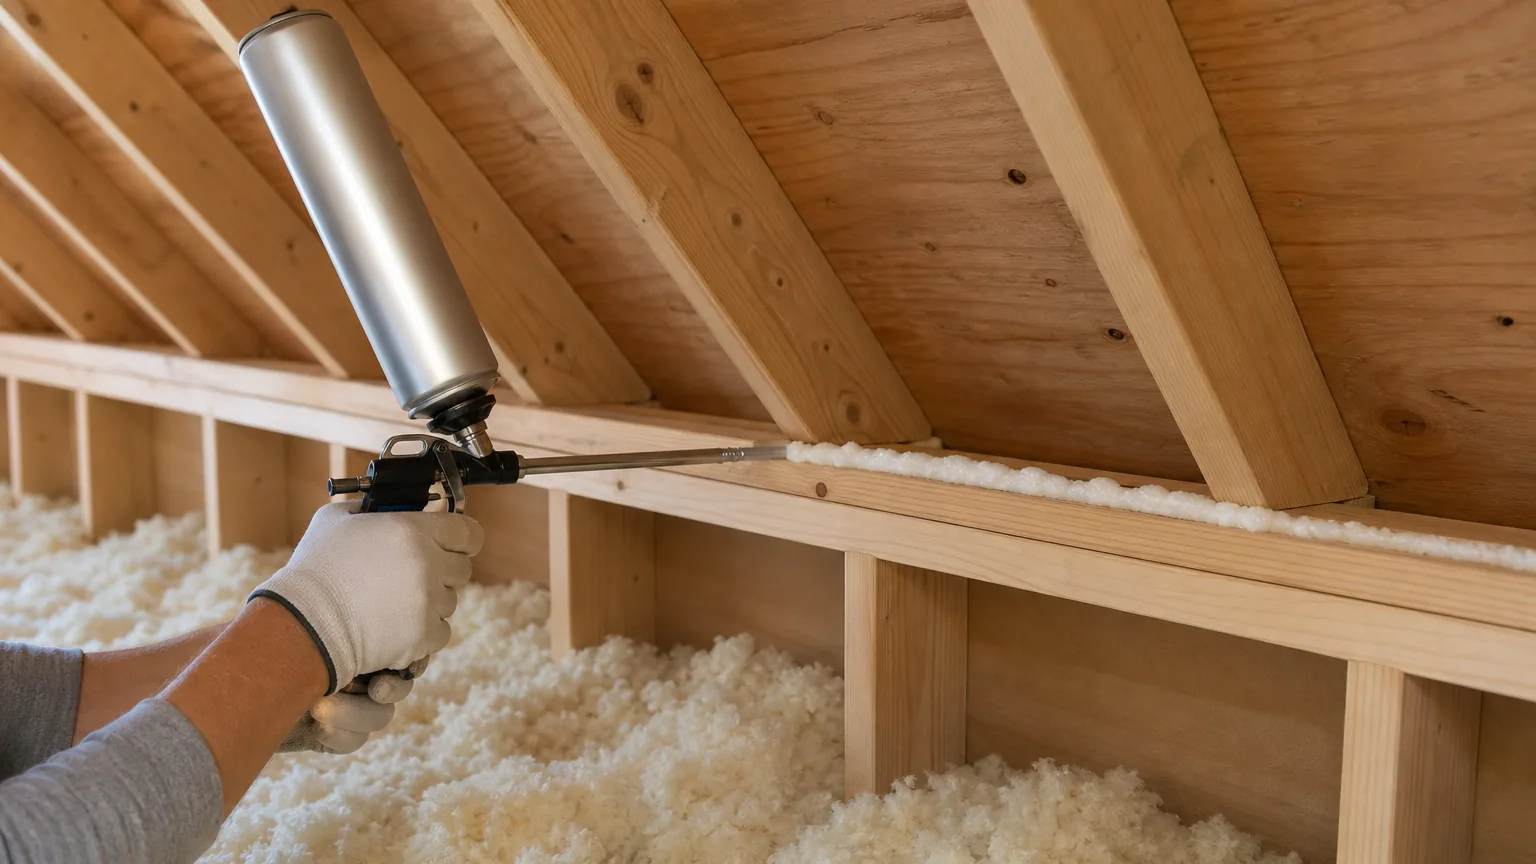
Top plates. The horizontal timber at the top of every interior and exterior wall usually has a finger-width gap on both sides where the drywall was hung. Run a bead of canned foam down both sides of every plate you can reach. This is often the single largest leak area in the house, and it is invisible under loose-fill insulation.
Recessed can lights. Older non-airtight housings are effectively open holes into the attic. If the fixture is labeled IC-AT, foam around the outside of the housing where it meets the drywall. If it is an older non-IC can, do not bury it or seal the housing itself. Build a sealed drywall or rigid-foam box over it with clearance, or swap the fixture for a modern airtight LED retrofit, which is usually cheaper than the box.
The attic hatch. A plain plywood panel dropped into a rough opening is a large uninsulated hole. Weatherstrip the perimeter, add a latch that compresses the seal, and glue rigid foam board to the top of the panel. Pull-down stairs get a purpose-built insulated tent box.
Chases and penetrations. Plumbing stacks, wiring holes, duct boots, and the open framing cavity behind a soffit or a dropped ceiling. Use canned foam for small gaps, rigid foam and foam adhesive for cavities, and fire-rated sealant or sheet metal with high-temperature caulk anywhere within three inches of a flue or a B-vent.
Materials for a thorough DIY attic session run roughly $200 to $600. A contractor doing the same work as part of an air-sealing package typically lands between $1,000 and $3,000.
Two cautions before you start. First, if the house has knob-and-tube wiring or a bath fan that vents into the attic rather than outdoors, fix that before sealing or insulating anything. Second, and more important: tightening a house changes how combustion appliances draft. If you have an atmospheric-draft gas water heater or an older furnace that vents into a masonry chimney, significant air sealing can cause backdrafting, which puts carbon monoxide into the house. That is a genuine safety issue, not a footnote. A worst-case depressurization test belongs in the same visit as the sealing work, and every house with fuel-burning appliances needs working CO alarms regardless.
Then Add Depth: Insulation to Current R-Values
Insulation and air sealing are two different jobs and the order is not negotiable. Insulation slows heat conducted through an assembly. It does almost nothing about air moving through that assembly, so fluff laid over unsealed top plates is largely wasted money. Seal first, then add depth.
The Department of Energy recommends roughly R-49 to R-60 in attics across most of the United States, dropping to about R-30 to R-49 in the hottest southern zones. In blown material that is somewhere between 14 and 20 inches. A great many houses built before the 2000s are sitting at R-19 or R-30, which looks like plenty of insulation to anyone who sticks their head through the hatch and sees a full-looking attic. Measure it with a ruler instead of eyeballing it.
Blown-in cellulose or fiberglass over an existing layer generally runs $1,500 to $3,500 for an average attic, and there is no problem adding new material on top of old as long as you do not use faced batts (the kraft paper becomes a vapor barrier in the wrong place). While you are up there, confirm that insulation has not been pushed into the soffit vents. Cardboard or foam baffles at each rafter bay keep the intake path open, and a ventilated attic runs meaningfully cooler than a blocked one.
Ducts in Unconditioned Space
If your ducts run through that attic or a vented crawlspace, this is the highest-value item on the entire list. Typical residential duct systems leak 20 to 30 percent of the air they carry. When the leaking sections sit in a 140 degree attic, you are paying to cool the attic and then delivering whatever survives, already warmed, to the bedrooms.
Seal accessible joints and seams with mastic, the thick gray paste you brush on, not cloth duct tape, which dries and lets go within a few years. Then bring the insulation on attic ducts up to R-8. For leaks you cannot physically reach, Aeroseal is an interior aerosol process that finds them from inside the duct, at roughly $1,500 to $3,000. Our ductwork guide goes deeper on sizing, return air, and when replacement beats repair.
The Bottom of the House
The stack effect has two ends, and the bottom end is where the makeup air enters. In a basement house, the rim joist (the band of framing that sits on top of the foundation wall, one bay for every floor joist) is usually bare wood with nothing but siding between it and the outdoors. Cutting rigid foam board to fit each bay and sealing the edges with canned foam is a satisfying weekend job with materials around $200 to $500. Two inches of foil-faced polyiso gets you to about R-13 with an air barrier included.
Crawlspaces are a larger decision. Encapsulation, which means sealing the vents, laying a heavy vapor barrier across the floor and up the walls, insulating the foundation walls rather than the floor above, and adding a dehumidifier, typically runs $5,000 to $15,000. It is expensive, but in a humid climate it fixes summer floor-level discomfort, musty smells, and the duct losses in that space all at once.
Glass: Shade Beats Replacement Almost Every Time
Heat gain and loss through windows accounts for something like 25 to 30 percent of residential heating and cooling energy use, which is why window salespeople have such a compelling opening line. The catch is that stopping sunlight before it hits the glass is dramatically cheaper than replacing the glass, and often more effective.
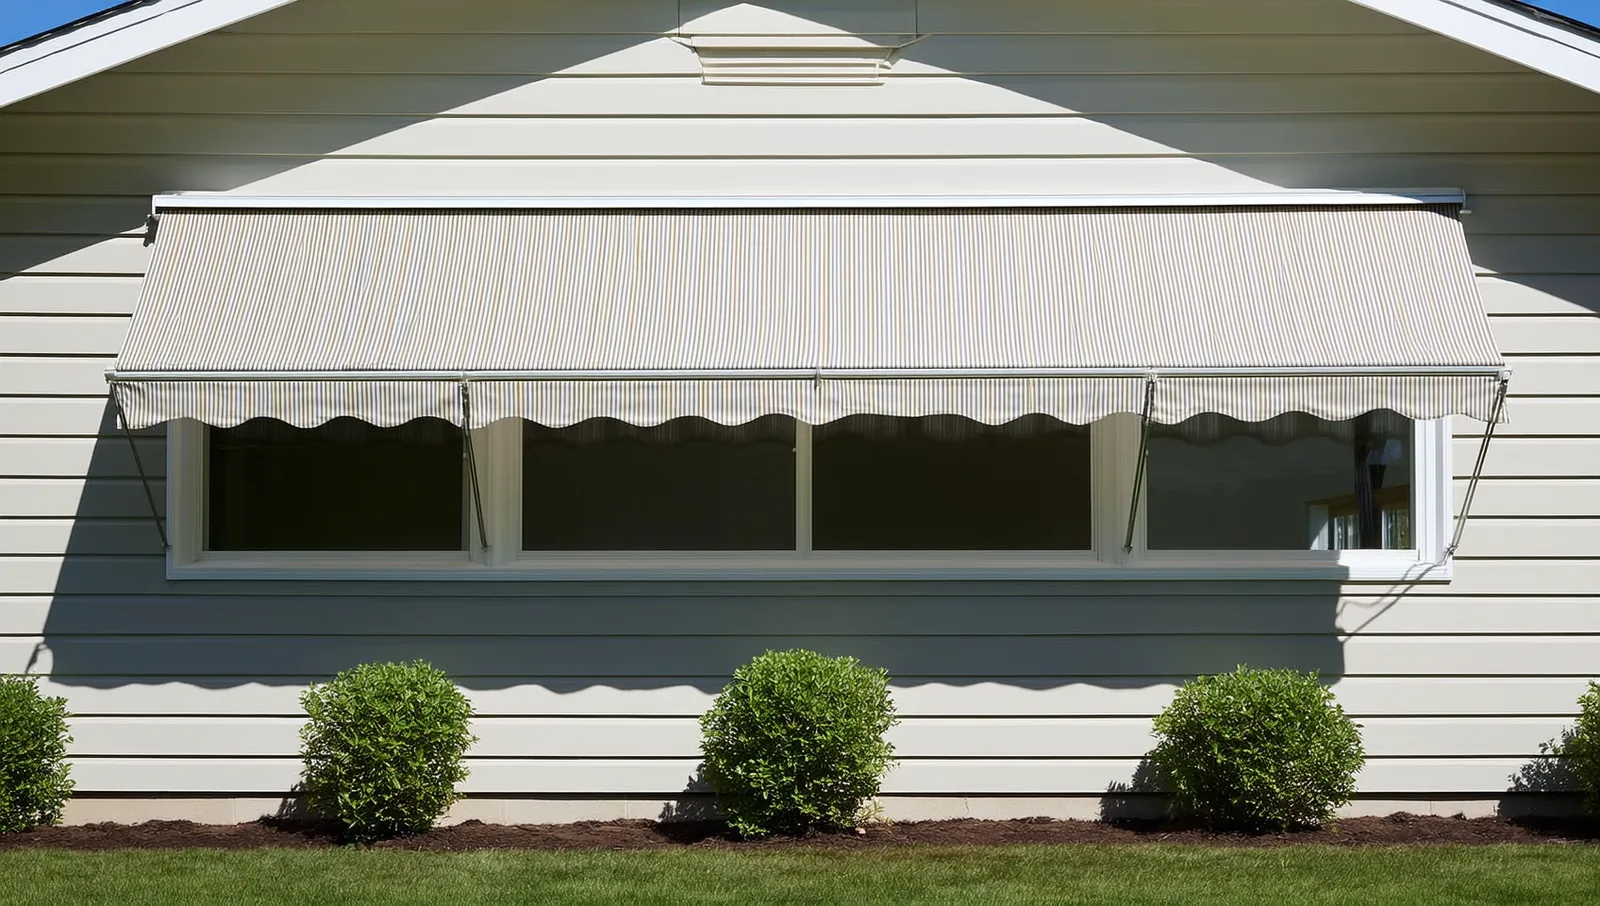
Exterior shading is the big lever. Once sunlight passes the glass it is already in the room, and an interior blind can only reflect some of it back out. The Department of Energy puts the reduction in solar heat gain from exterior awnings at up to about 65 percent on south-facing windows and 77 percent on west-facing ones. Fixed or retractable awnings run roughly $150 to $700 per window. Exterior roller shades and solar screens do similar work at similar money, and they are the right answer for the west side of a house, which takes the worst of the afternoon load precisely when outdoor temperatures peak.
Window film is the cheap version. A quality spectrally selective film rejects a large share of solar heat while passing most visible light. Professional installation runs about $6 to $14 per square foot; DIY kits are considerably less if you have the patience for bubbles. Check your window warranty first, because some manufacturers void coverage on film applied to their insulated glass.
Interior treatments still earn their keep. Cellular shades cut solar heat gain by roughly 60 percent, and highly reflective blinds around 45 percent, which is less than exterior shading but far better than nothing and available today for under $100 a window.
Shade trees are the long game. A deciduous tree on the west or southwest side blocks summer sun and then drops its leaves to let winter sun through, which is a nicer trick than any manufactured product manages. It takes years to pay off and it is worth starting anyway. Shading the outdoor condenser itself is also worth doing, as long as you keep plantings at least two to three feet clear of the coil so airflow is not restricted.
When New Windows Finally Earn Their Cost
Replacement windows are a real product that solves real problems. They are just rarely an energy investment that pays for itself. At $500 to $1,500 per window installed, a whole-house job runs $8,000 to $25,000, and the energy savings alone typically take multiple decades to return that. Salespeople quote “up to 30 percent savings,” which describes going from single-pane to modern low-E glass in a cold climate, not going from decent double-pane to slightly better double-pane.
Windows earn their price when they are failing rather than merely dated: rotted sashes, frames that no longer close or lock, fogged glass from a blown seal (which cannot be repaired), or original single-pane units with no storm window. They also earn it when you want them for reasons other than energy, such as street noise, operation, or a remodel. If you have single-pane windows and a limited budget, low-E storm windows are the underrated middle path, delivering a meaningful share of the benefit of full replacement for a fraction of the cost. And when you do buy, choose by climate: a low solar heat gain coefficient matters far more than U-factor in a cooling-dominated region, and the reverse is true up north.
What a Blower Door and Infrared Scan Actually Find
You can do everything above by guesswork. A professional energy audit replaces the guessing with a prioritized list, and it usually pays for itself on the first job you skip.
A blower door is a calibrated fan mounted in an exterior doorway that depressurizes the house and measures how much air it takes to hold that pressure. The result is a number, usually CFM50 or air changes per hour at 50 pascals. A leaky older home often tests somewhere between 10 and 20 ACH50; current new construction targets roughly 3 to 5 depending on climate zone. That number tells you whether air sealing is your problem at all, and repeating the test afterward proves what the work actually accomplished.
With the fan running, the auditor walks the house with an infrared camera, and the leaks light up: cold streaks pouring off the attic hatch, wind-washed insulation in the corners, a whole joist bay someone forgot. An infrared scan without the blower door running is far less useful, so ask whether both are included. A full audit typically costs $250 to $700, and many utilities subsidize or fully cover one. Check your utility’s website before paying retail.
The Money, and One Outdated Pitch to Watch For
Section 25C, the Energy Efficient Home Improvement Credit, is the one every insulation contractor’s marketing still leans on: 30 percent back on insulation and air sealing materials up to $1,200 a year, plus $600 for exterior windows, $250 for one exterior door or $500 for two or more, and $150 for a professional home energy audit. Those figures were real and genuinely generous, and they applied to property placed in service through December 31, 2025. The 2025 tax law pulled that deadline forward, so envelope work placed in service now does not claim the credit.
Contractor brochures have been slow to catch up, and “claim your $1,200 insulation credit” is currently among the more common outdated lines on a quote. Verify anything a salesperson tells you about a federal credit against the IRS page for that credit before you let it change your decision. The money that remains is mostly local: utility rebates on insulation and air sealing, state energy office programs, and income-qualified weatherization assistance, which in many states will do this work at no cost. Our rundown of HVAC credits, rebates, and rebate scams covers how to tell a real program from a pitch.
The DIY Line
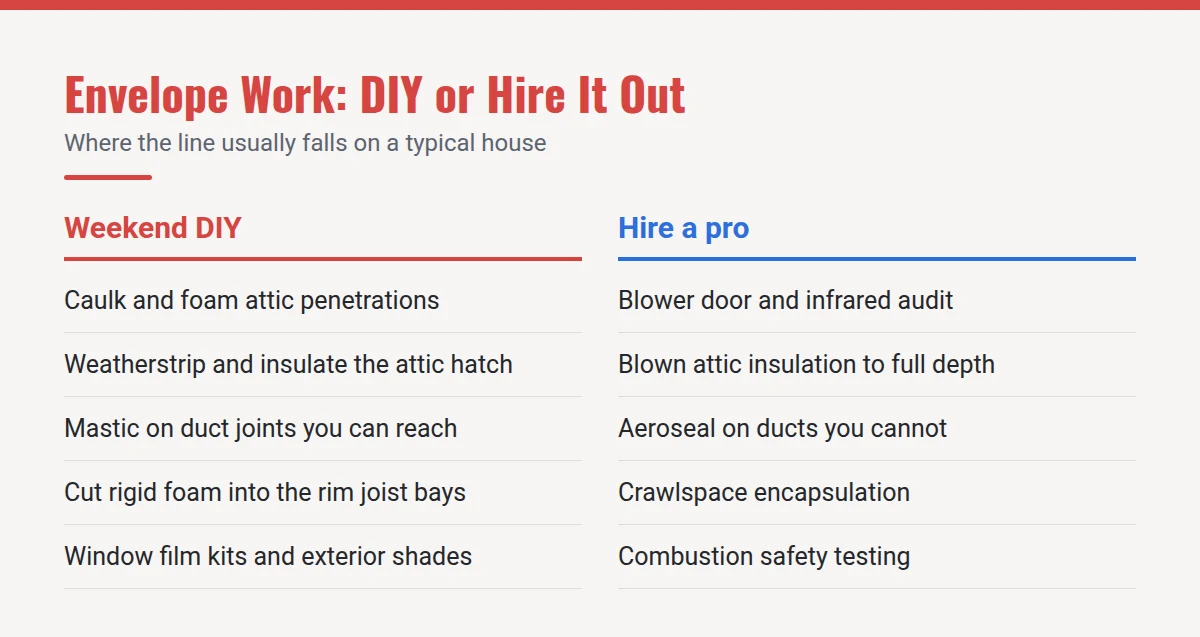
Air sealing is the most DIY-friendly item on this list and also the one most worth doing carefully, because a contractor charges mostly for the crawling around, not the caulk. Attic insulation is genuinely doable with a rented blower and a helper, though pros get more consistent depth and coverage in awkward bays. Everything involving spray foam in a confined space, crawlspace encapsulation, combustion safety testing, and the blower door itself belongs to someone with the equipment and the training.
One last piece of sequencing. A tighter house is a house that no longer ventilates itself by accident, and below roughly 5 ACH50 you should be planning mechanical ventilation rather than hoping. Build tight, ventilate right, as the saying goes. Our guide to indoor air quality covers what an ERV or HRV does and when a tightened house needs one.
The Bottom Line
A house that cannot stay cool is usually telling you about itself, not about its air conditioner. Work the envelope from the top down: seal the attic plane, bring the insulation to depth, fix the ducts crossing unconditioned space, close the rim joist, and shade the west and south glass before anyone measures you for new windows. Most of that list is a few thousand dollars and much of it is a weekend. Then, if the equipment still cannot keep up, get a fresh Manual J against the smaller load and buy the right size. Do it in that order and you will spend less on the house and less every month afterward. Autumn is the ideal time for all of it, because the attic is survivable and no one is booked, which makes it a natural companion to the fall heating startup checklist.
Further reading (sources)
- U.S. Department of Energy on where a house actually leaks and how to close it up
- ENERGY STAR for the recommended attic R-values by climate zone
- U.S. Department of Energy with how much exterior awnings cut solar heat gain
- Internal Revenue Service on the current rules for the Energy Efficient Home Improvement Credit
- The Spruce for how a home’s layout and orientation drive its cooling load