Smart Thermostat Buying Guide 2026: Nest vs Ecobee, C-Wire, and DIY Install
Published on June 1, 2026
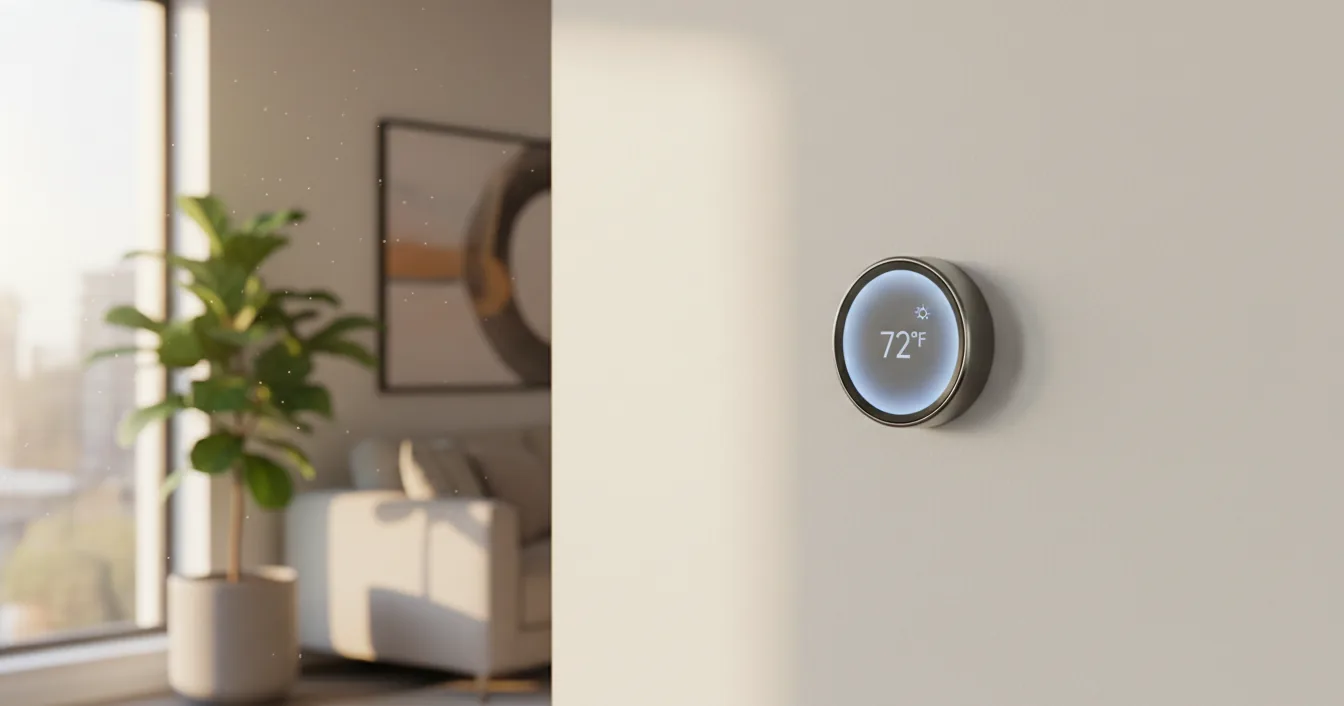
A smart thermostat is the rare home upgrade that costs less than a nice dinner out and starts paying you back the first month it runs. Swap the dial or the basic programmable box on your wall for one that learns your routine, senses when the house is empty, and lets you nudge the temperature from your phone, and you stop paying to heat and cool rooms nobody is in. The U.S. Department of Energy estimates you can save around 10 percent a year on heating and cooling just by setting the temperature back 7 to 10 degrees for eight hours a day, and a smart thermostat does that on its own instead of relying on you to remember. The catch is that “smart thermostat” covers everything from a $60 Amazon unit to a $280 Nest, some of them will not even power on in an older house without an extra wire, and a wrong pick can leave you with a blank screen and a service call. Here is how to choose the right one and put it on the wall yourself.
What Makes a Thermostat “Smart” (and Where the Savings Come From)
A programmable thermostat follows a schedule you punch in. A smart thermostat does that and then improves on it without being asked. Three features do the real work.
Learning and scheduling come first. The Google Nest Learning Thermostat watches the adjustments you make over the first week and builds a schedule around them; Ecobee leans more on a schedule you set plus automatic eco adjustments. Either way the goal is the same: stop conditioning the house at full tilt when you are asleep or away.
Geofencing and presence sensing are where the biggest savings hide. Geofencing uses your phone’s location to flip the system into an energy-saving away mode when the last person leaves, then back to home before you return. Add the remote sensors that ship with higher-end models and the thermostat also knows which rooms are actually occupied, so it stops chasing the temperature in an empty guest room and aims comfort at the rooms you use.
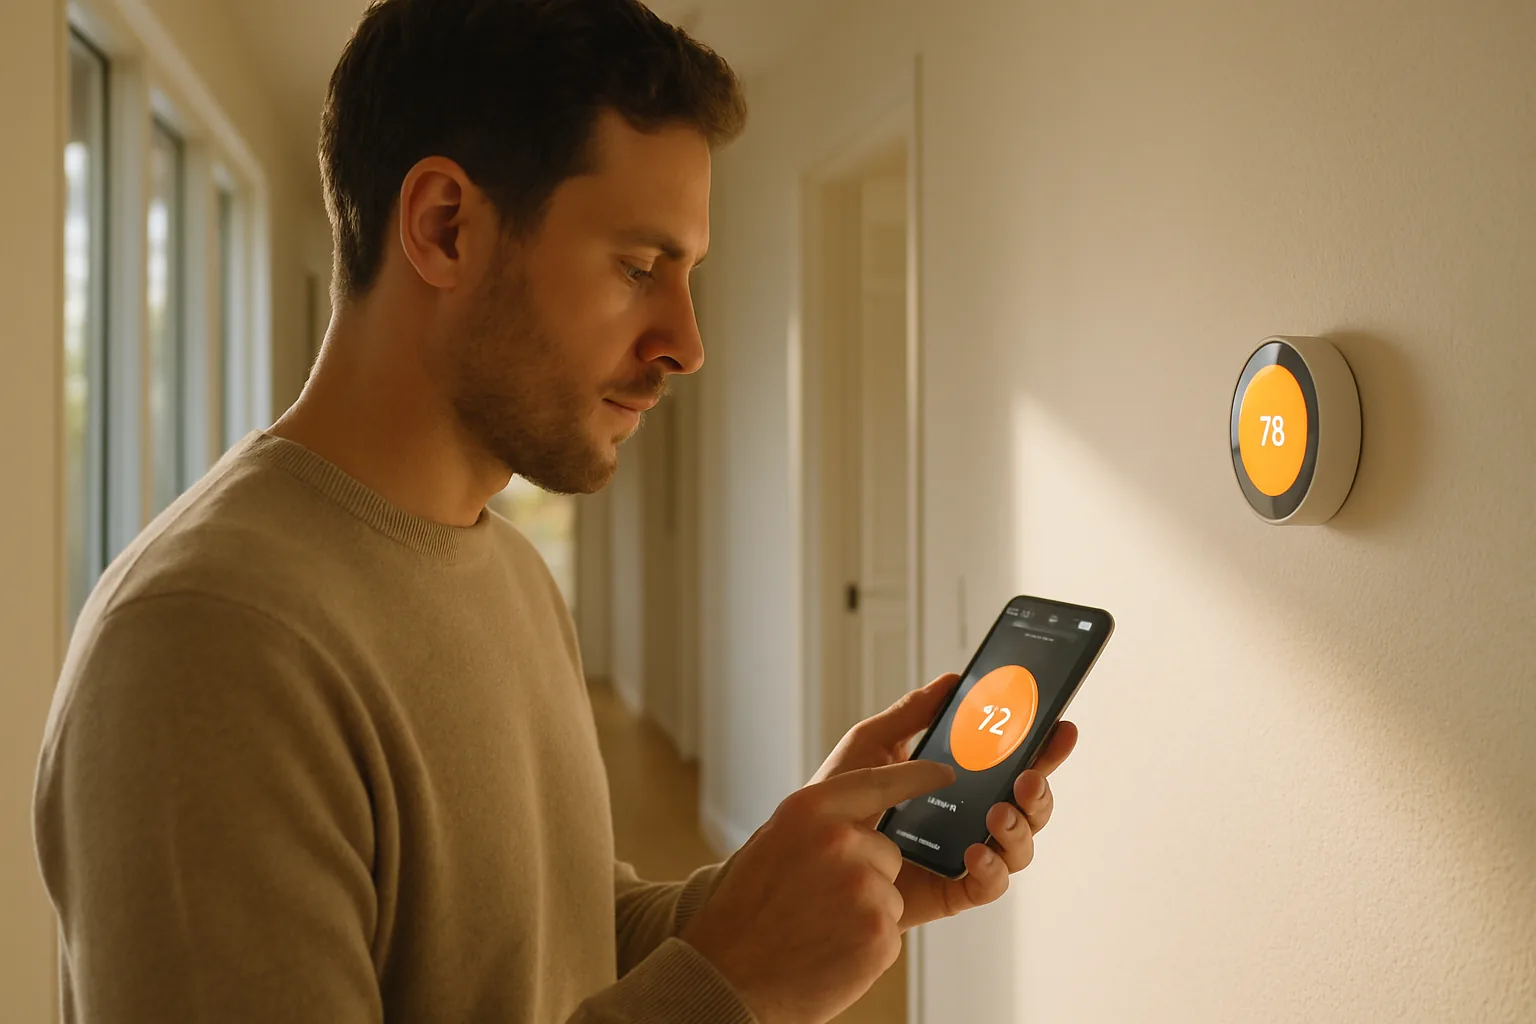
Remote and voice control round it out. Every model here pairs with a phone app, so you can turn the heat down from bed or warm the house on the drive home, and most work with Alexa or Google Assistant.
Do the Savings Actually Hold Up?
Mostly, with realistic expectations. Manufacturer claims of 20-plus percent savings assume you were heating and cooling an empty house around the clock before. The more credible number comes from ENERGY STAR, which now runs a Connected Thermostat certification built on real field data from millions of homes rather than a lab bench. Certified models save roughly 8 percent on heating and cooling on average, about $50 a year for a typical household. That is a one to two year payback on a mid-priced unit, faster if your utility offers a rebate.
Two things push you toward the high end. The first is an erratic old habit: if you left it at 71 all winter, automation has more to recover. The second is geofencing that actually triggers, which means everyone in the house has the app and location turned on. If you are folding a connected thermostat into a bigger efficiency project, the rebates and federal credits in our 2026 guide to HVAC money and rebates often cover part of the cost, and many utility programs require the ENERGY STAR mark to qualify.
The Brands Worth Knowing in 2026
Five names dominate the lab tests and review roundups (Ecobee, Google Nest, Honeywell Home, Sensi, and Amazon), with Mysa filling an important niche.
Nest versus Ecobee is the matchup most buyers actually agonize over, and both are excellent. The Google Nest Learning Thermostat, 4th generation, runs about $240 to $280. It has the nicest hardware, a round dial and a bright display, and it is the most hands-off of the bunch: it builds your schedule for you and combines presence sensing with your phone’s location to handle home and away automatically. It is happiest in a Google Home household. The Ecobee Smart Thermostat Premium, about $200 to $250, answers with a remote SmartSensor in the box for room-by-room comfort, a built-in air-quality monitor, a speaker with Alexa and Siri on board, and a privacy policy reviewers consistently rate best in class. If you want the thermostat to think for you, lean Nest. If you want sensors, air monitoring, and tight control of your data, lean Ecobee.
The rest fill specific gaps. Ecobee’s Smart Thermostat Essential (around $130 to $140) keeps most of the smarts without the sensor and microphone. The Honeywell Home T9 (roughly $170 to $200) is the pick for uneven temperatures, thanks to room sensors that track temperature, humidity, and occupancy across a long range. The Sensi Touch 2 (around $150) is the easy, reliable choice with a clean touchscreen and quick setup, though it skips built-in learning and presence sensing. The Amazon Smart Thermostat (about $60 to $80) is the value champion, dead simple and broadly compatible with Alexa baked in, trading away remote sensors and some data privacy. And if you heat with electric baseboard or in-floor systems, most of these will not work at all; you want the Mysa, one of the few smart thermostats built for high-voltage heat.
One newer category is worth knowing. For ductless mini-splits, heat pumps, and window units that run off a handheld remote, Consumer Reports now tests infrared smart controllers (Sensibo and Cielo among them) that aim at the unit like a universal remote and add app and scheduling control without touching any wiring.
The C-Wire Question (Why Older Homes Get Stuck)
Here is the detail that derails more installs than any other. A smart thermostat needs continuous power to run its display, WiFi radio, and sensors, and it gets that from a common wire, the C-wire, that delivers a steady 24 volts from your furnace or air handler. Newer homes usually have one. Homes wired decades ago, especially heating-only systems, frequently do not: you pull the old thermostat off the wall and find only two to four wires and an empty C terminal.
There are several ways around it. Ecobee includes a Power Extender Kit that creates a C connection at the furnace control board using the wires you already have, which is one reason it is a favorite in older houses. The Nest is engineered to run without a dedicated C-wire in many systems by drawing a small amount of power through the other wires, though Google still recommends a C-wire for the steadiest performance. Honeywell Home and Amazon sell plug-in C-wire adapters. And if your wire bundle has an unused conductor coiled inside the wall (many do), an HVAC tech can simply connect it at both ends. Skipping the C-wire and letting the thermostat “steal” power can work, but on some systems it causes battery drain or makes the furnace short-cycle, so a real C connection is always the safer bet.
Will It Work With Your System?
Before you buy, run your wiring through the manufacturer’s online compatibility checker, where you enter the letters printed at each terminal. The big picture breaks into three cases.
Standard low-voltage systems (most gas, oil, and electric furnaces, central AC, and conventional heat pumps) run on 24 volts and work with every mainstream smart thermostat. If you have a heat pump, confirm the model supports the reversing valve (the O/B terminal) and your auxiliary or emergency heat. A smart thermostat pairs especially well with a modern heat pump, but it has a couple of extra terminals you need to get right.
Line-voltage systems (120 or 240 volt electric baseboard and in-floor heat) are a different animal, and this one is a safety issue rather than a preference: never wire a 24-volt smart thermostat to line voltage. Use a line-voltage model such as the Mysa. Millivolt heaters and a few proprietary systems have limited options, which the compatibility checker will flag before you spend a dollar.
Installing It Yourself, Step by Step
For a standard low-voltage system, this is a 30-minute job with a screwdriver. The one rule that matters most is to kill the power first.
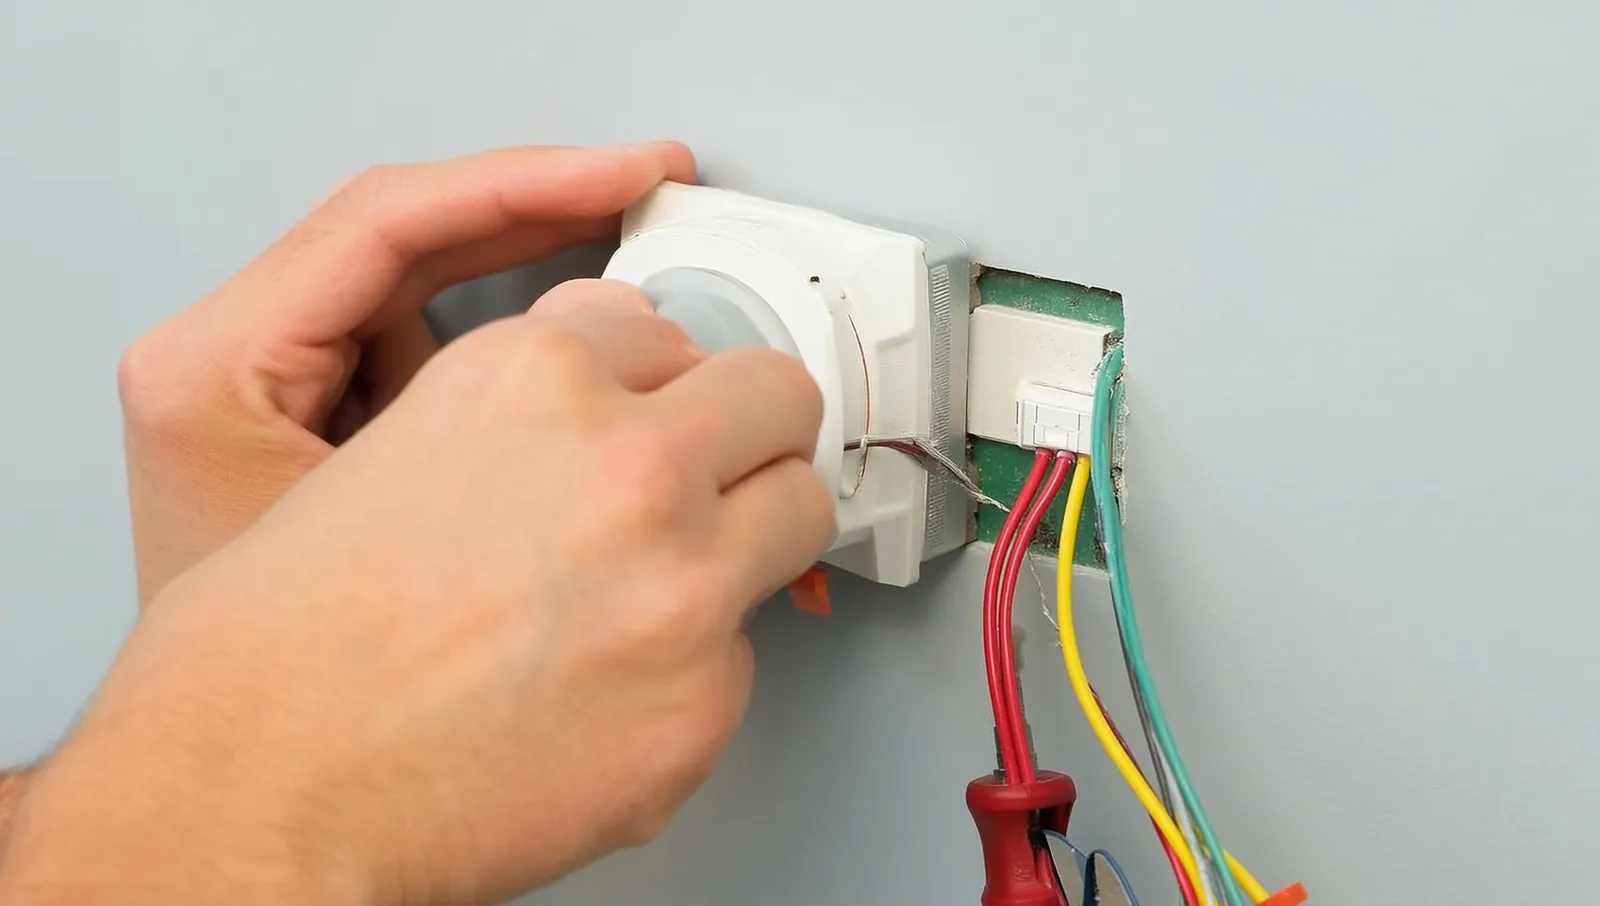
- Turn off power to the HVAC system at the breaker and at the furnace’s service switch. Confirm it is dead by trying to run the old thermostat; the screen should stay blank and the fan silent. This protects both you and the low-voltage control board, which can short out if a bare wire brushes the wrong terminal.
- Pull the old thermostat off its base and photograph the wiring before you disconnect anything. Label each wire with the stickers in the box according to the lettered terminal it sits in (R, Rc, Rh, W, Y, G, C, O/B), not its color. Color is not a reliable guide in older homes.
- Wrap the loose wires around a pencil or clip them so they cannot slip back into the wall cavity. Losing a wire in the wall turns a quick swap into a drywall repair.
- Mount the new base plate, level it, feed the wires through, and anchor it to the wall. Install the Power Extender Kit at the furnace board now if your unit needs one.
- Seat each wire in its matching terminal, snap on the faceplate, and restore power.
- Follow the on-screen and in-app wizard to connect WiFi, tell it your system type, and pair the app. Then test everything: call for heat, call for cooling, and run the fan to confirm each mode actually starts.
If you open the wall and find scorched wiring, a line-voltage system, or a heat pump configuration you cannot map with confidence, stop and bring in a professional. Knowing what an HVAC service call typically costs helps you judge whether a $150 install visit is worth it, and it almost always is when the alternative is a fried control board. A well-chosen thermostat is also one more quiet contributor to an efficient, comfortable home over the long haul.
The Bottom Line
For most homes in 2026, the decision comes down to two questions. First, do you want the thermostat to think for you (Nest) or to hand you sensors, air monitoring, and strong privacy (Ecobee)? Either is a safe buy, with the Sensi and the Amazon units waiting as cheaper, simpler choices and Mysa covering electric baseboard heat. Second, does your house have a C-wire? Check before you order, pick a model that solves for it if the answer is no, and you have removed the one thing that commonly wrecks an install. Confirm compatibility with the online checker, expect savings in the neighborhood of what ENERGY STAR promises rather than the splashy marketing numbers, and scan your utility’s rebate list before you buy. Then spend the half hour to put it on the wall yourself, and let it start trimming the bill the same week.
Further reading (sources)
- The New York Times Wirecutter on the four smart thermostats worth buying this year
- Consumer Reports for lab-tested smart thermostat rankings across the major brands
- CNET with a head-to-head of this year’s energy-saving models
- Popular Mechanics covering how programmable and smart thermostats stack up
- PCMag and its tested picks for the best smart thermostats