HVAC Installation Day, Start to Finish: Permits, the Crew Timeline, and the Punch List Before You Pay
Published on September 18, 2026
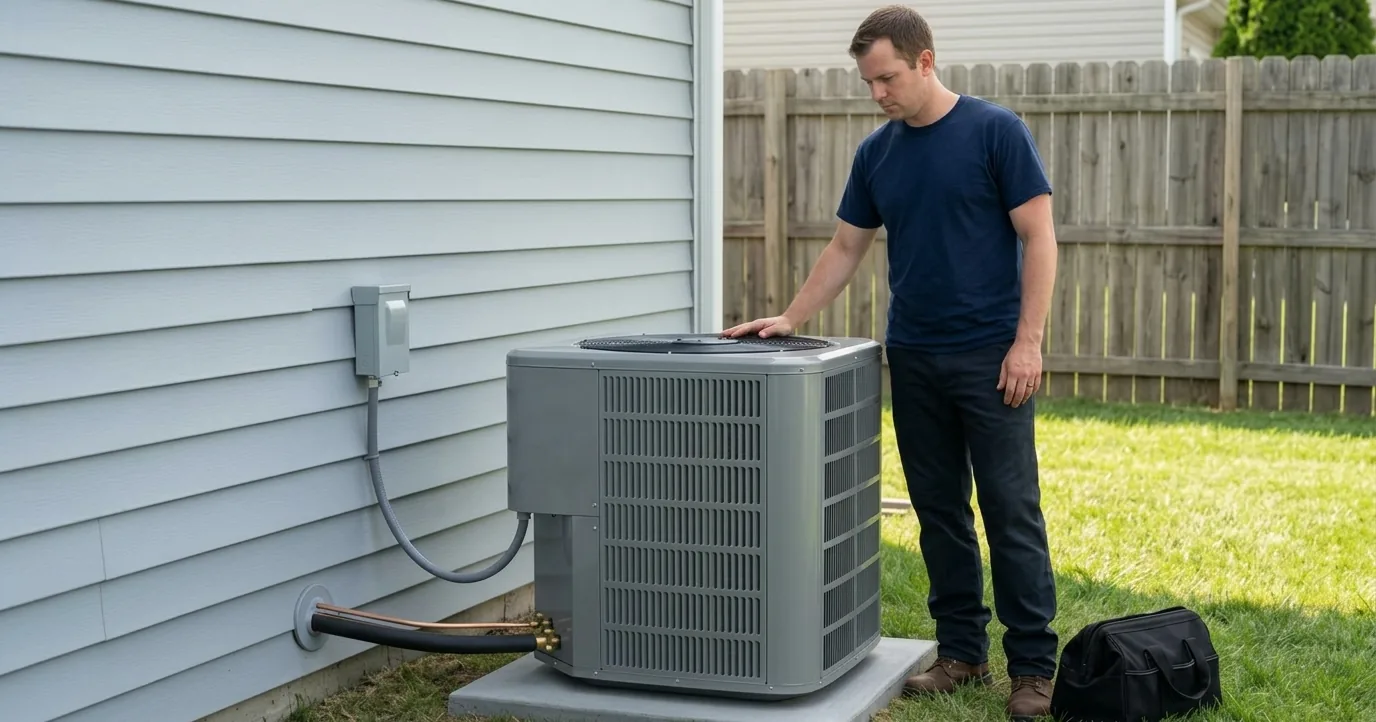
Almost all the advice about replacing a heating and cooling system stops at the signature. There are guides to vetting a company, guides to sizing, guides to what the equipment should cost, and then a gap. On the far side of that gap is a truck in your driveway at seven in the morning and six hours of noise you have no obvious way to evaluate.
That gap is where money quietly goes wrong, and usually not through fraud. It goes wrong through a permit nobody pulled, a line set nobody flushed, a warranty nobody registered inside the window, and a final check written before anyone measured whether the system actually does what the contract promised. This is the logistics story: the week before, the day itself, the inspection, and the short list of things to have in hand before you pay the balance. Choosing the company is a separate job, covered in our guide to vetting an HVAC contractor before you hire.
The Week Before: Clear the Path, Check the Model Numbers
Start with the contract, not the house. Write down the model number of every piece of equipment on it: outdoor unit, indoor coil or air handler, furnace, and the AHRI certified reference number that ties the outdoor and indoor halves together. That reference number is how the industry identifies a pair that has actually been tested as a set, and efficiency program administrators routinely require it on a rebate application. Your installing contractor is the right person to produce it, and you should have it before the truck arrives, not after.
Then check those numbers against the data plates when the equipment is standing in your driveway. Substitutions happen for legitimate reasons, because supply is tight or a model was superseded, and a substitution is not automatically a problem. It becomes your problem when nobody tells you. The rule is simple: any change to the model numbers on the contract gets your agreement in writing before it gets installed.
The physical prep is less glamorous and takes an hour. Clear a straight path from the driveway to wherever the equipment lives, including the attic hatch or crawlspace hatch if the air handler is up or under. Code generally wants a working space in front of the equipment, commonly around 30 inches deep, and the crew needs at least that much to swing a tool. Move the storage, the bikes, the paint cans. Take down anything hanging in a stairwell. Put pets somewhere else for the day, because doors get propped open for hours and the house will be neither heated nor cooled while the work is happening. Leave room for two vehicles, and ask where the old equipment will sit before it goes.
Two questions worth asking on the phone that week. First, who is pulling the permit. The answer should be the contractor, always. Second, if the job runs more than one day, what is the plan for overnight, because “no heat in February” and “no cooling in August” are different problems from a scheduling annoyance.
The Realistic Shape of the Day
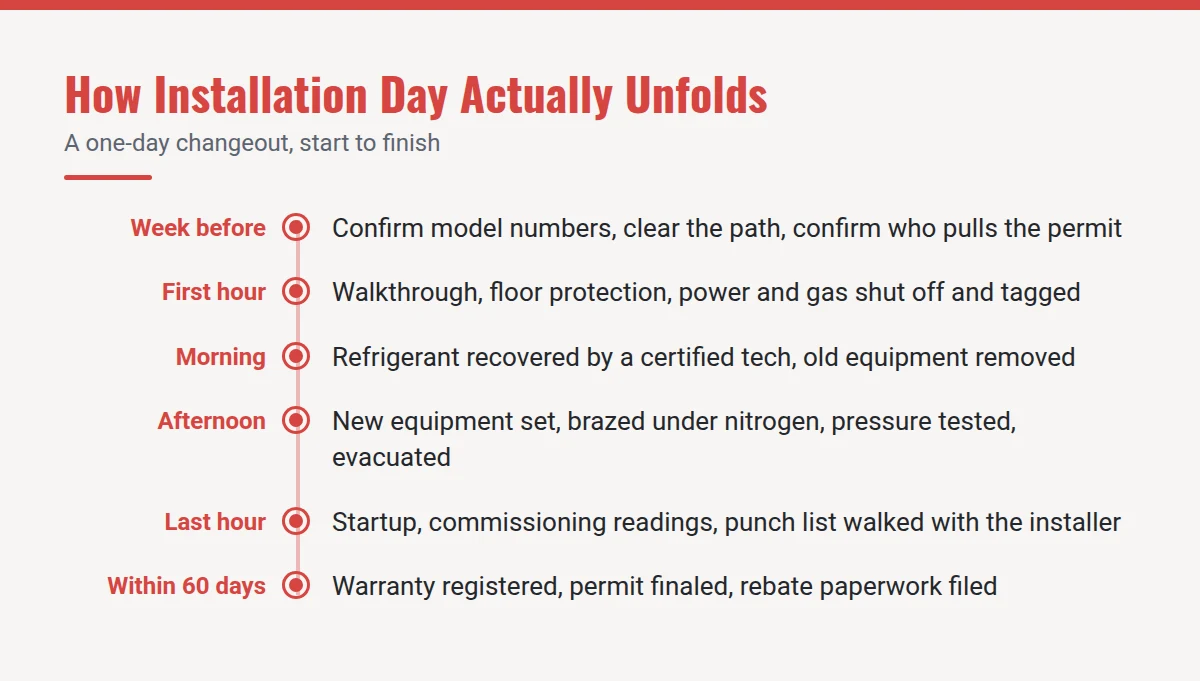
A straight changeout, meaning a split system replaced in the same location with ductwork that stays where it is, is a one-day job for a crew of two or three. Figure six to ten hours, and expect the shape rather than the exact clock to hold.
The first stretch is a walkthrough, floor protection, and shutting things down: power off and tagged at the disconnect and the breaker, gas off at the valve. Then the refrigerant comes out of the old system. It cannot be vented, and it cannot be let go while the lines are cut. EPA rules under Section 608 of the Clean Air Act require it to be recovered with certified equipment by a certified technician before an appliance is dismantled for disposal. On a larger or older system this alone can take the better part of an hour, and a crew that finishes it suspiciously fast is worth a question.
Removal comes next, then the slow part: setting the new equipment. That means leveling the outdoor unit on its pad, fitting the indoor coil or air handler and building whatever sheet metal transition the new cabinet needs, running condensate, running vent pipe on a furnace, wiring the disconnect and the whip, and pulling new thermostat wire if the old one is short a conductor. Brazing is done with nitrogen flowing through the lines to keep scale from forming inside the copper. Then the system gets a nitrogen pressure test, a deep vacuum (500 microns or below is the usual target), and a standing vacuum test to prove the vacuum holds before any refrigerant goes in.
Startup, thermostat configuration, and commissioning measurements close out the day, and they are not optional filler. That is the part homeowners most often watch get skipped.
Multi-day jobs are a different animal. Adding or replacing duct runs, converting from a furnace to a heat pump with an electrical service change, relocating equipment from a closet to an attic, adding zoning, or craning a unit onto a roof all push a project to two, three, or four days. Duct modification in particular is its own day of work, and our guide to duct design, sizing, and sealing explains why it is worth the day rather than a shortcut.
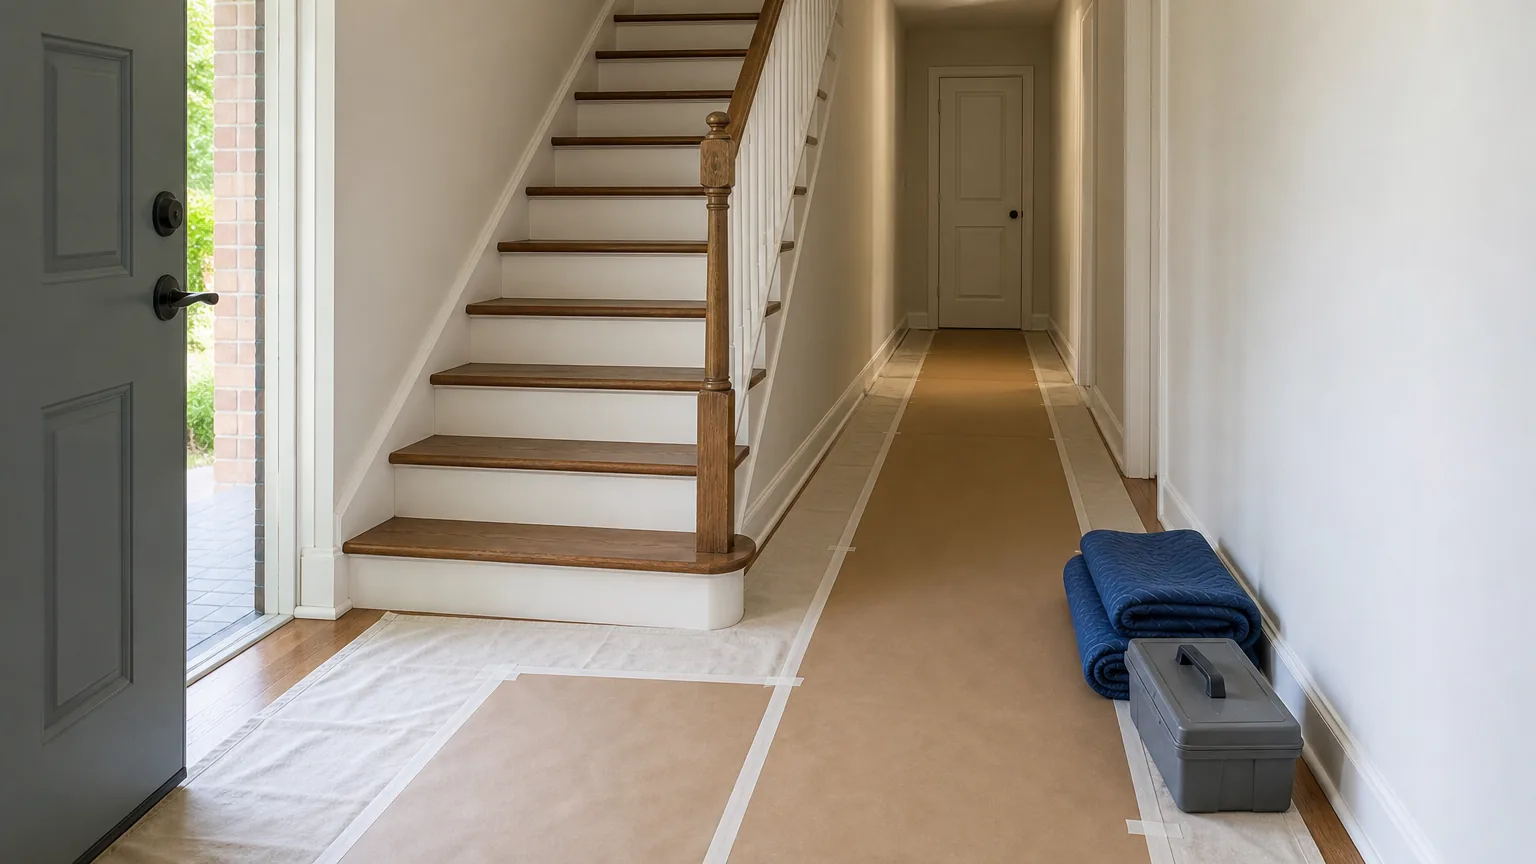
A clean job site is a real signal, not a cosmetic one. Drop cloths or rosin paper from the entry door to the work area, shoe covers or boots left at the threshold, cutting and brazing done away from finished flooring with a fire watch, a shop vacuum at the end, and the old equipment plus all the packaging carried away rather than parked at your curb. Crews that respect a hallway tend to respect a torque spec.
The Line Set Question
The line set is the insulated copper pair running between the outdoor unit and the indoor coil. Reusing it saves real money and, in a finished house, saves drywall. Reusing it blindly is one of the most common ways a brand new system underperforms from day one.
Three things decide it. Size, because the liquid and suction line diameters and the total run length have to match what the new equipment’s manufacturer specifies, and an undersized or overlong run costs capacity and can compromise oil return. Condition, meaning no kinks, no crushed sections, insulation intact along the whole run, and no mystery splices buried in a wall. Contents, which is where the refrigerant change has made this a live question again.
New residential systems now ship with A2L refrigerants, chiefly R-454B and R-32, rather than the R-410A that dominated the last two decades. If you are coming off an R-410A system, the existing line set is generally reusable when it is in good shape and correctly sized, and R-454B works with the same oil family R-410A used. Coming off an R-22 system is the harder case, because mineral oil circulated in those lines and it does not mix with the POE oil the new equipment needs. Residue left behind can sludge up a metering device on a system that is three weeks old. That is the scenario where a proper flush, or simply new tubing, earns its cost. The same goes for any system that lost a compressor to a burnout, where acid and debris migrate into the lines.
So ask three plain questions before the day: are you reusing my line set, how did you confirm it is the right size for this equipment, and if you are reusing it, what are you doing to clean it. A2L work also changes some shop habits worth noticing, including labeled equipment and leak checking with an electronic detector rated for A2Ls or with bubbles rather than an open flame. For the equipment-side version of this decision, our central air conditioner buying guide covers the refrigerant switch in more depth.
The Permit and the Inspection Are for You
Most building departments treat any installation or modification of a heating or cooling system as mechanical work that requires a permit, and a permit means at least one inspection. Los Angeles states the scope in one sentence that is typical of the rest of the country: a mechanical permit is required for any installation or modification of heating or cooling systems.
The contractor pulls it. If a contractor asks you to pull it yourself as an owner-builder, treat that as the red flag it is. California’s licensing board is blunt about what that signature does: sign a permit application as an owner-builder and you assume full responsibility for all phases of the project and its integrity, and your project must pass codes and building inspections. You would be absorbing liability that the contractor’s license, bond, and insurance were supposed to carry, and saving them a fee in the process.
The permit is also where sizing gets a second look. Manual J 8th Edition is the ANSI-recognized standard for residential load calculations, and ACCA notes it is required by national building codes and most state and local jurisdictions. Plenty of authorities now want the actual load calculation attached to the application rather than a tonnage written on a line.
What the inspector checks is mundane and useful: clearances around the equipment, combustion air and venting, gas piping and a sediment trap, where the condensate terminates, the electrical disconnect and bonding, duct connections and support, and a secondary drain pan with a float switch under an attic unit. A failed inspection is not a catastrophe. It is a free second set of eyes paid for by your permit fee, and the contractor corrects and re-inspects.
Close the loop yourself. Ask for the finaled inspection record or look the permit up in the jurisdiction’s online portal. An open permit is not a filing error that fades away; it surfaces at resale, in an insurance claim after a fire or a carbon monoxide incident, and whenever a manufacturer asks for proof of professional installation. If the quote has no permit line item and the explanation is “nobody pulls those around here,” you have learned something important about the company rather than about the town.
Commissioning: The Numbers to Demand in Writing
There is a national definition of a good install. ANSI/ACCA Standard 5 covers design, equipment installation, distribution, and system documentation with owner education, and the Department of Energy’s Building America guidance spells out the tests a commissioned installation runs: a nitrogen pressure test, a vacuum decay test, refrigerant charge verification, and controls verification, plus total external static pressure, airflow measurement, duct leakage testing, and performance verification on any ducted system.
Ask for those as numbers on a startup sheet before the crew leaves:
- Total external static pressure, measured, against the blower’s rated maximum, which is commonly 0.5 inches of water column on residential equipment.
- Airflow in CFM, against the target for the equipment, with roughly 400 CFM per ton as the nominal starting point and less in humid climates.
- Subcooling or superheat, against the manufacturer’s stated target for the charging method used.
- Supply and return temperature split at the registers.
- Manifold gas pressure and temperature rise on a furnace, against the range printed on the data plate.
- Final vacuum reading in microns.
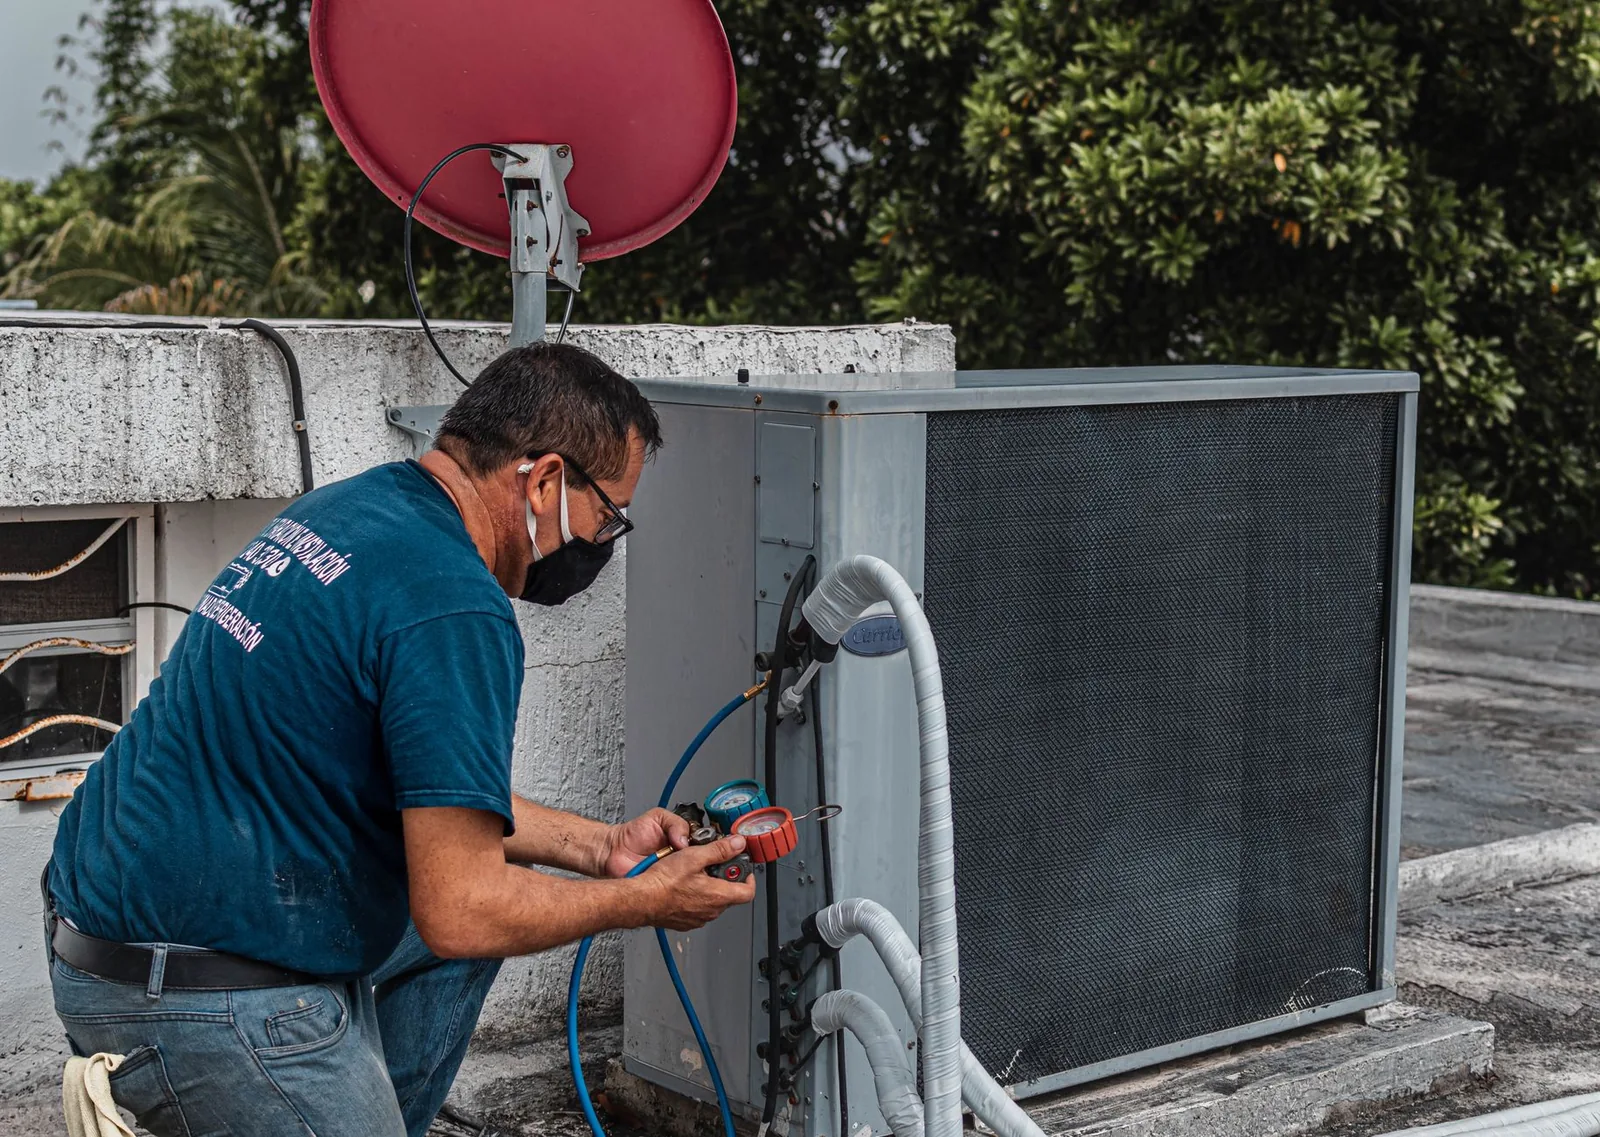
A startup sheet is ordinary in this trade, and a company that measures is a company that can prove its work later. “We don’t do that” means the system was charged by feel, and feel is exactly how a correctly specified system ends up delivering less than it was sold as. Our furnace buying guide explains why temperature rise in particular is the number that catches a mis-set furnace.
The Punch List, Before the Crew Leaves
Walk it with the lead installer, not alone afterward.
- Thermostat. Run heating and cooling. On a heat pump, confirm auxiliary and emergency heat behave separately and that the equipment type is configured correctly in the thermostat’s installer settings.
- Every register. Air at each one, and flag any room that has less than it used to.
- Outdoor unit. Level on its pad, clearance to the wall and any shrubs, service valve caps on, line set insulated along the entire run including the last few inches at the unit, wall penetration sealed.
- Indoor unit. Condensate drain running to a legal termination with a proper trap, secondary pan and float switch if it is in an attic, filter installed with the airflow arrow pointing the right way, and the filter size written down somewhere you will find it.
- Furnace. Vent pitched and supported, combustion air intake clear, sediment trap present, no gas odor anywhere near the appliance.
- Electrical. Disconnect within sight of the unit, breaker sized to the data plate rather than to the old unit, whip secured.
- The site. Old equipment and packaging gone, no copper offcuts or sheet metal screws in the lawn, floors clean.
Ask them to leave the manuals. Ask for the filter size out loud, and write it on the filter door with a marker.
The Paperwork That Decides What Happens Next
Collect this before the final payment leaves your hands, because every one of these is harder to get afterward.
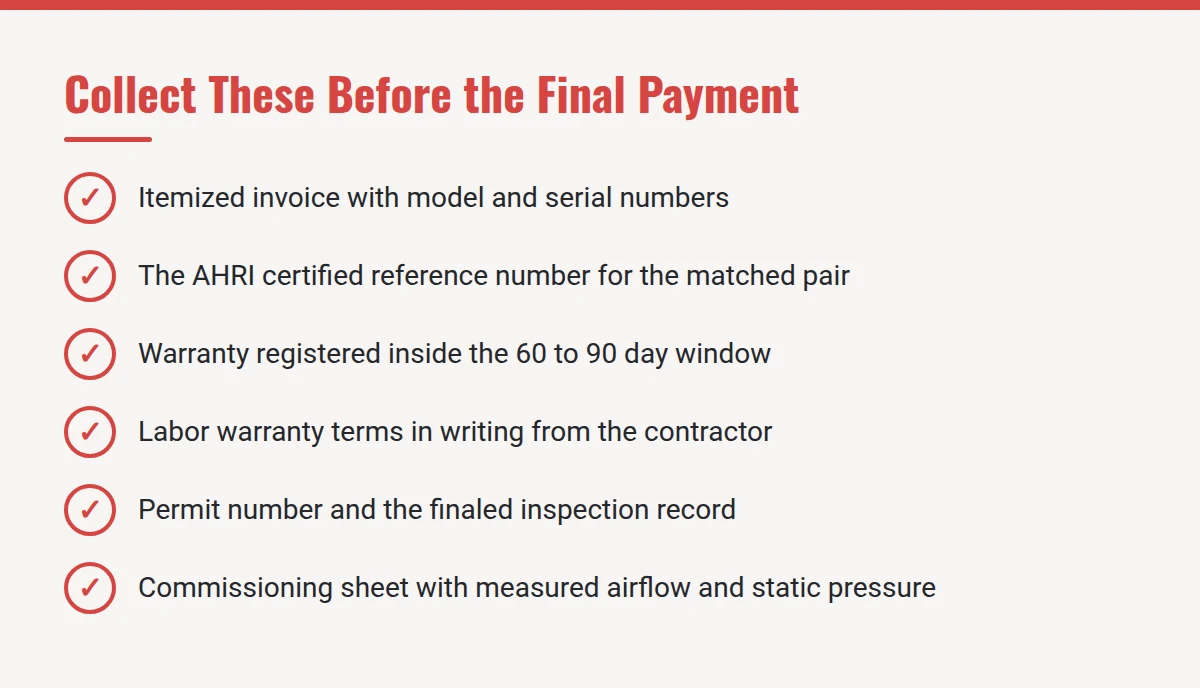
An itemized invoice with the model and serial number of each piece of equipment, plus the AHRI certified reference number.
Warranty registration, inside the window. This is the deadline that catches the most people. Manufacturers typically allow 60 to 90 days from installation, and missing it is not a formality. Goodman’s published terms are representative: register within 60 days and the applicable warranty runs up to 10 years, miss the window and the applicable period is 5 years. Do not assume the dealer handled it. Ask for confirmation and look for the registration email in your own inbox.
The labor warranty, separately. Parts come from the manufacturer, labor comes from the contractor, and the two have nothing to do with each other. Get the labor term and what it covers in writing.
The permit number and the finaled inspection record.
The commissioning or startup sheet with the measured numbers above.
Rebate documentation. Utility and state programs generally want the AHRI certificate, the itemized invoice, and often the contractor’s license number, and some require pre-approval before the work starts, so check the program before install day rather than after. One change worth knowing: the federal energy efficient home improvement credit ended for property placed in service after December 31, 2025, so a 2026 project is documenting for state and utility programs rather than for a federal credit.
Lien releases. In many states an unpaid subcontractor or supplier can record a lien against your house even though you paid the contractor in full. California’s licensing board publishes the mechanics lien waiver forms and states the principle plainly: after you pay, you should receive an unconditional release signed by each claimant paid, and you may withhold the next payment until you have the releases for the previous one. Find out what your state’s version is before the balance is due. On a single-day equipment swap this is usually simple, and on a multi-trade project it is not.
Progress payments are normal. A large deposit plus the full balance before the system has run a full cycle is not, and our breakdown of what a new HVAC system costs covers what a reasonable payment schedule looks like against the total.
When Something Is Wrong a Week Later
Go in order, and put each step in writing with dates and symptoms.
Start with the contractor. Most reputable companies want the callback, because a warranty claim they fix quietly is cheaper for them than a complaint. If that does not move, the escalation path has four rungs: your state contractor licensing board, which is the only body that can touch a license; the building department that issued the permit, since an open or unfinaled permit is genuine leverage; the manufacturer’s distributor, if the fault is in the equipment rather than the workmanship; and your credit card issuer, if you paid by card and the work was not performed as agreed.
One diagnostic note for that first week. A system that “cannot keep up” during the first hot or cold stretch is almost always a sizing, airflow, or charge story, and the commissioning numbers are what settle the argument. That is the practical reason to have demanded them. If the response you get instead is a new quote for more equipment, our guide to reading an HVAC diagnosis and sanity-checking a quote is the right next stop.
The Bottom Line
Installation day rewards preparation that costs almost nothing. Confirm the model numbers before the truck arrives, clear the path, make sure the contractor holds the permit, ask the line set question out loud, insist on measured commissioning numbers, and walk the punch list with the person who did the work. Then pay the balance once the paperwork is in your hand and the permit has been finaled. A system is only as good as the day it went in, and that day is the one part of the process you can actually stand next to.
Further reading (sources)
- Air Conditioning Contractors of America on the load calculation standard codes point to
- Building America Solution Center for the tests a commissioned heat pump installation actually runs
- Building America Solution Center with ACCA Standard 5 and what counts as a quality installation
- AHRI explains how a certified reference number identifies a matched indoor and outdoor pair
- US Environmental Protection Agency on recovering refrigerant before an old system is disposed of
- ACHR News for what changes on an R-454B job, line sets included
- Los Angeles Department of Building and Safety sets out the work a mechanical permit covers
- Contractors State License Board on what a homeowner takes on by signing the permit as owner-builder
- Contractors State License Board with the releases that stop a mechanics lien after you have paid
- Goodman publishes the 60-day registration window behind a 5 or 10 year parts warranty
- Internal Revenue Service on the end of the energy efficient home improvement credit